Yes, this blog post is about 9 months too late. But instead of looking at it that way, let's think of it as early planning for Christmas 2015?
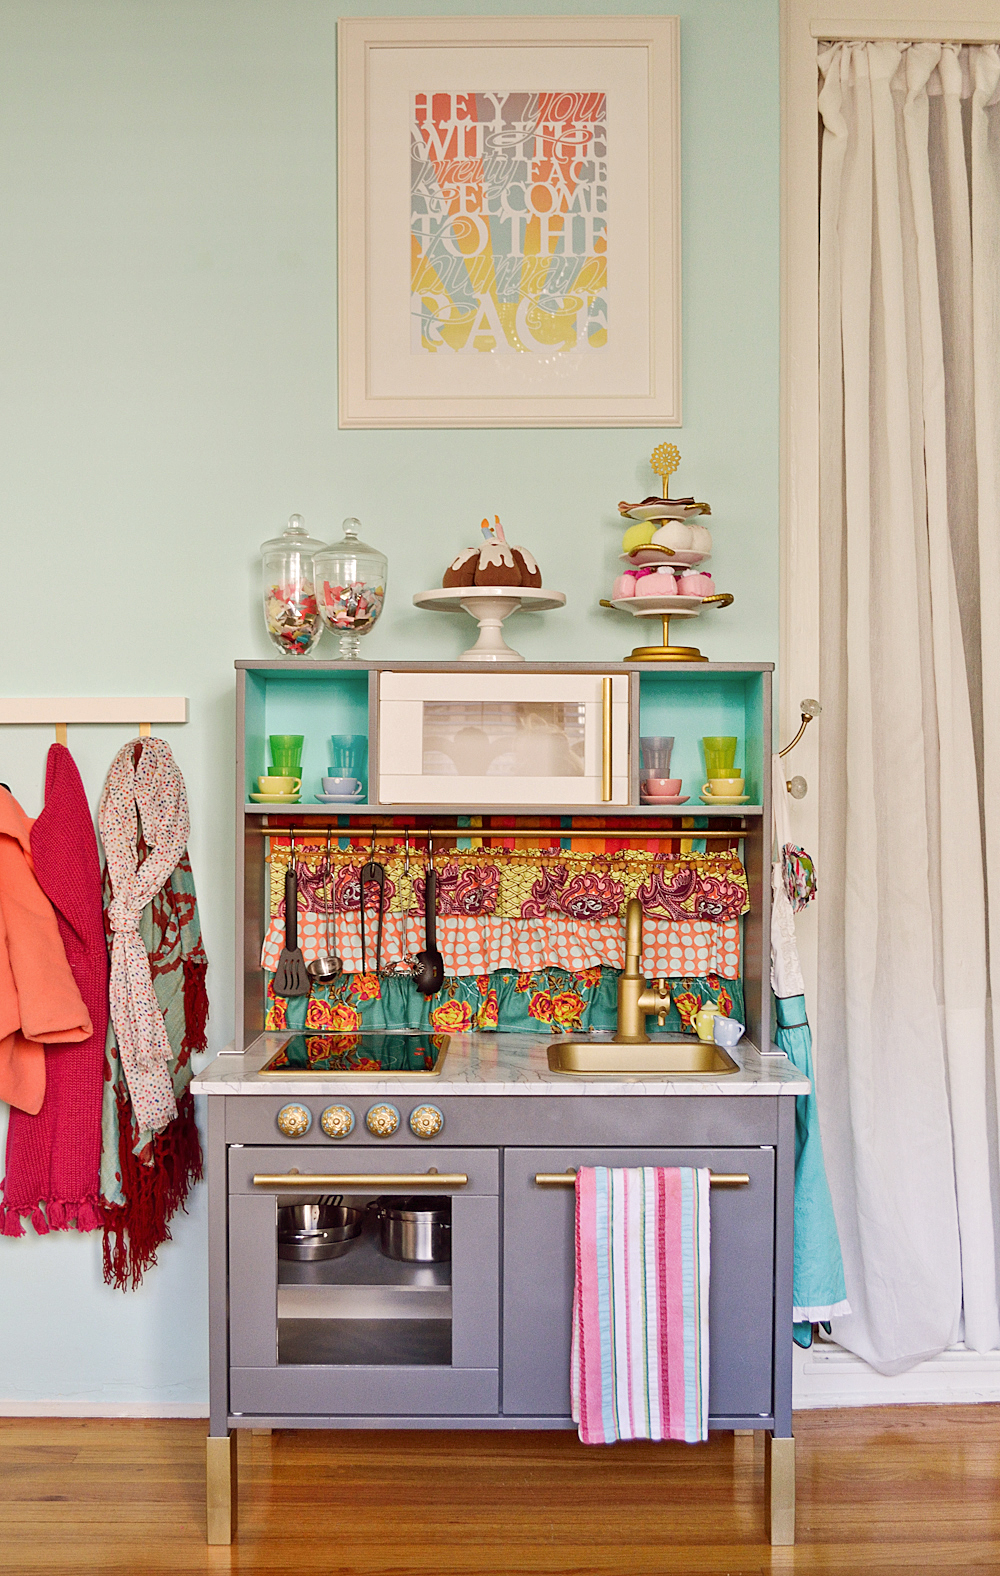
Last fall, I decided that I wanted to get Sebastian a play kitchen for Christmas. I didn't want a giant piece of plastic and I also didn't want to spend a million dollars on a wooden one from Pottery Barn. Lucky for me, my mom found this wooden IKEA one in the AS-IS section for $40 and I told her to snatch it up.
It's not a fancy kitchen but it's the perfect size and base for a transformation. Who doesn't love a DIY project?! As soon as I had it, I went off to Pinterest for some inspiration.
Some of these kitchens are fancier than my real one!
Once I got an idea of what I wanted, I got down to business. First I took the kitchen apart and sanded everything down. The wooden pieces are covered in a clear lacquer and I wanted to paint it a bright white. I primed everything when I was done.
I chose a dark navy blue for the countertop and cubby holes. I purchased a small sample of it from Home Depot and it was more than enough. I used a small foam roller so the paint was evenly spread.
Once the blue was dry, I painted the rest of the kitchen with left over high gloss molding paint we had in the basement. The doors were spray painted with a matte metallic paint to give them a stainless steel look. I also changed the handles to these from IKEA:
Varnhem Handle (6 inch)
To give the stove & microwave a more "real" feel, I added vinyl buttons and some knobs. I just used a silver sharpie to draw little dots on the stove knobs. The knobs are actually coat hooks from IKEA:
Enudden Knob.
Sebastian's favorite part: press on lights in the microwave & oven. They are battery operated and stick on with adhesive.
My favorite part is the backsplash. I purchased a PVC decorative backsplash panel from Home Depot (
Fasade in Brushed Aluminum) and attached it with some screws and glue.
And there you have it... Sebastian's hacked IKEA play kitchen!
Labels: DIY, IKEA, inspiration, Pinterest, toddler, toys, tutorial